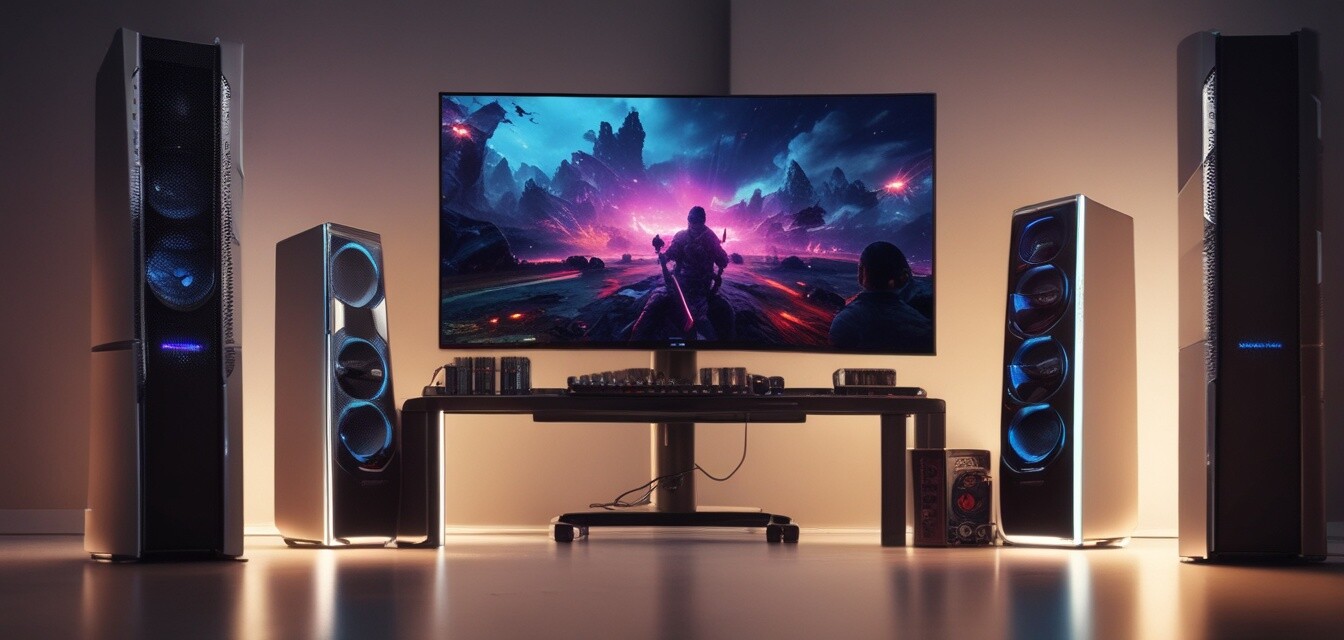
Complete guide to building a custom gaming rig
Key Takeaways
- Understand essential components like CPU, GPU, RAM, and storage.
- Choose high-performance accessories that enhance your gaming experience.
- Learn about cable management and cooling solutions for optimal performance.
- Follow step-by-step instructions for assembling your rig.
- Know the common pitfalls to avoid when building your gaming rig.
Building a custom gaming rig can be an exciting and rewarding endeavor. This guide will provide you with all the information you need to select the right components and accessories to enhance your gaming experience. Whether you are a casual player or a hardcore gamer, knowing what goes into a custom rig is essential for performance and enjoyment.
Essential components for your gaming rig
The foundation of your custom gaming setup will be based on several core components. Below, we break down each part you need to consider:
| Component | Purpose | Key Features |
|---|---|---|
| CPU | The brain of the computer | Multicore performance, clock speed |
| GPU | VRAM, cooling system, performance benchmarks | |
| RAM | Temporary data storage | Capacity (GB), speed (MHz) |
| Motherboard | Links all components | Socket type, onboard features |
| Storage | Data storage for games and files | SSD vs. HDD, read/write speed |
| Power Supply | Powers the entire rig | Wattage, efficiency rating, modular options |
| Case | Encases and protects components | Size, airflow, aesthetics |
Must-have gaming accessories
To maximize your gaming experience, it's crucial to select the right accessories. Here are some of the most popular gaming accessories:
- High-quality gaming controllers for better control.
- Headsets with sound-cancellation and high-fidelity audio for an immersive experience; see our headsets & audio page.
- Comfortable and responsive performance enhancers like mouse pads and wrist rests.
- Effective game storage solutions to keep your library organized.
Assembly: Step-by-step guide
Now that you’ve gathered your components and accessories, it's time to assemble your gaming rig. Follow these steps carefully:
- Prepare your workspace—clear a large area and gather all tools.
- Install the CPU on the motherboard. Align the notches and secure it gently.
- Add RAM to the motherboard, ensuring they click into place.
- Install the motherboard inside the case. Ensure proper standoffs are used.
- Attach the power supply to the designated area in the case.
- Insert the GPU in the appropriate PCIe slot on the motherboard.
- Connect storage drives (SSD/HDD) to the motherboard and power supply.
- Manage your cables for optimal airflow—use zip ties to keep them organized.
- Attach any additional cooling fans, if necessary.
- Close the case and power it on for the first time!
Common pitfalls to avoid
While building your custom gaming rig, it’s easy to make mistakes. Here are some pitfalls you should avoid:
- Neglecting compatibility between components, such as motherboard and CPU.
- Overlooking the importance of airflow; ensure you have adequate cooling solutions.
- Underestimating power supply needs—always choose a PSU with extra wattage.
- Ignoring cable management, which can hinder airflow and effectively lead to overheating.
Pros
- Enhanced performance tailored to your gaming preferences.
- Customization options for aesthetics and functionality.
- Potential cost savings over purchasing a pre-built system.
Cons
- Initial complexity in understanding components and assembly.
- Time-consuming process, especially for beginners.
- Possibility of issues if components are incompatible.
Tips for beginners
- Start with a budget—determine how much you are willing to spend.
- Research component reviews and compatibility before purchasing.
- Watch video tutorials on assembly for visual guidance.
- Don't hesitate to ask for help in gaming communities.
Conclusion
Building a custom gaming rig is a fulfilling project that allows gamers to personalize their experience. With careful planning and the right components, you'll create a powerful machine tailored to your gaming needs. Don't hesitate to explore our buying guides for deeper insights into the best features and components for your build.